
 RSS Feed
 January 6th, 2025
  Blake
Blake 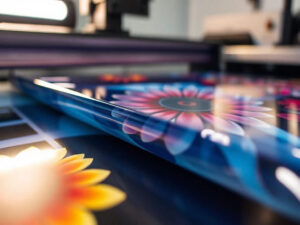
Ever looked at a printed design and thought, “How do they make it pop like that?” Chances are, you’re admiring the magic of direct to film transfers with multi-layered precision. This guide pulls back the curtain on the techniques, challenges, and secrets of multi-layered DTF designs to help you craft prints that dazzle clients and set your business apart.
Why Multi-Layered Designs Are the Future of DTF Transfers
Imagine a design so vivid and textured it feels alive. That’s the power of multi-layering in direct to film transfers. It transforms your prints from flat to fantastic, offering:
- Unmatched Depth: Layers of ink and texture create eye-catching designs with tactile appeal.
- Client Wow Factor: Deliver designs so durable and vibrant that clients come back for more.
- Market Edge: Stand out in a competitive industry with your premium, intricate offerings.
But here’s the catch: achieving this perfection isn’t easy. It takes skill, the right tools, and a sprinkle of ingenuity. Let’s dive in.
The Art and Science of Multi-Layering in DTF
Creating layered designs isn’t just about stacking inks—it’s about precision, planning, and persistence.
Step 1: Design Software—Your Canvas of Possibilities
- Separate Like a Pro: Break your design into logical layers (underbase, colors, and finishes) using tools like Adobe Illustrator or Photoshop. Treat each layer as a building block of your masterpiece.
- Pro Tip: Group elements by function—think underbase for opacity, top layers for color vibrancy.
- Registration Marks: These tiny heroes align your layers perfectly. Use high-contrast shapes like crosses or diamonds placed outside the design.
- Why It Matters: Misaligned layers can turn art into chaos.
- Color Profiles: Master the science of color accuracy.
- Use ICC profiles tailored to your printer and inks.
- Always work in CMYK for screen-to-fabric consistency.
- Pro Tip: Calibrate your monitor monthly to avoid unpleasant surprises.
Your DTF Toolbox: What You Need to Succeed
You wouldn’t paint a masterpiece with a dollar-store brush. Your tools make the difference.
- DTF Printer: Modified Epson L1800 printers are popular, but ensure compatibility before investing.
- Specialized Inks: Vibrant, pigment-based inks designed specifically for DTF.
- High-Quality PET Films: Go matte for subtlety or glossy for bold statements.
- Powder Adhesive: Match the powder to the fabric—low-temp powders are great for polyester.
- A Reliable Heat Press: Invest in one with precise temperature, time, and pressure settings.
Step-by-Step: Crafting Multi-Layered DTF Magic
Ready to roll up your sleeves? Here’s how to master direct to film transfers like a pro:
1. Prepare the Design
- Break your design into distinct layers.
- Add alignment marks for precision.
- Export the design in PNG or TIFF format with transparency.
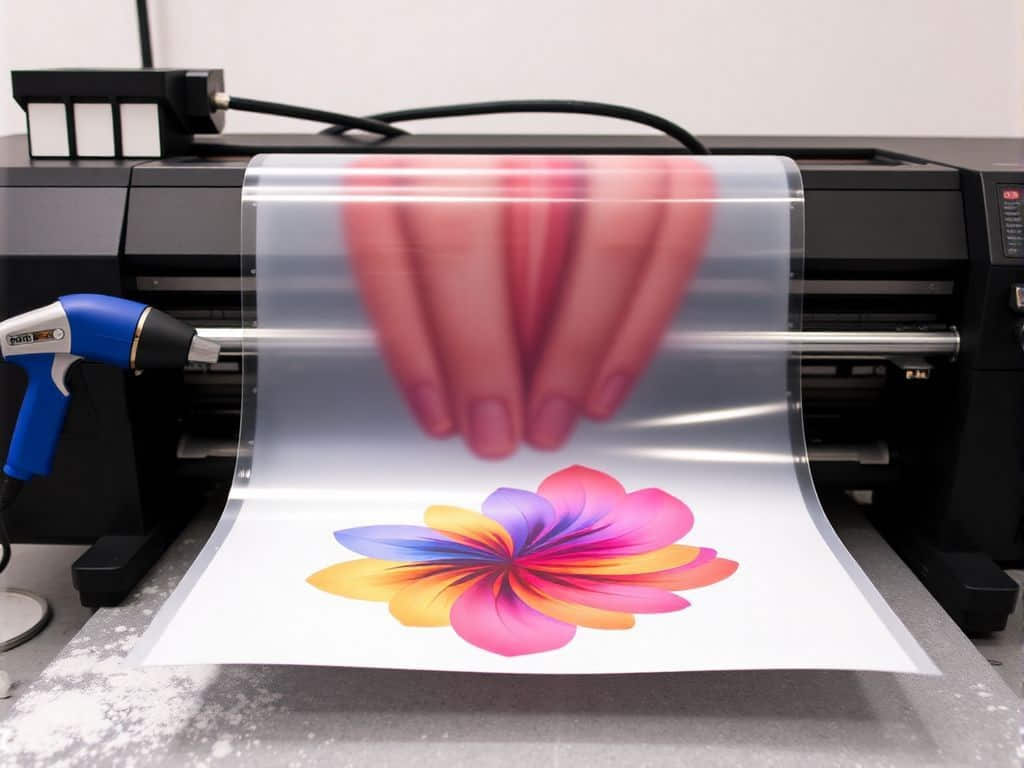
2. Print Each Layer
- Start with the underbase layer for solid opacity.
- Print color layers next, ensuring alignment with the registration marks.
- Finish with the topcoat for a protective, polished look.
3. Apply Adhesive Powder
- Evenly coat the printed film with powder adhesive.
- Shake off excess to prevent clumping.
- Pro Tip: A vibrating tray ensures a smooth, even layer.
4. Cure the Film
- Heat the film at 250°F to 300°F for 90-120 seconds until the ink is dry to the touch.
- Why It Matters: Over-curing can make the ink brittle; under-curing leads to adhesion issues.
5. Transfer to Fabric
- Pre-press the fabric to remove moisture and wrinkles.
- Place the film on the fabric and use the heat press.
- Hot Peel: Pull the film away immediately for glossy vibrancy.
- Cold Peel: Let it cool first for a matte, durable finish.
- Test settings for different fabrics:
- Temperature: 320°F to 350°F.
- Pressure: Medium to firm (40-60 psi).
- Time: 10-15 seconds.
Troubleshooting: Turning Challenges into Triumphs
Nobody nails it on the first try, and that’s okay. Here’s how to troubleshoot common issues:
Ink Bleed
- What’s Happening: Ink feathers or wicks into fabric fibers.
- Solution: Use high-quality films and adjust your printer’s ink output to avoid over-saturation.
Registration Errors
- What’s Happening: Layers don’t align, creating a shadow effect.
- Solution: Double-check registration marks and recalibrate your printer regularly.
Ghosting
- What’s Happening: A faint duplicate image appears.
- Solution: Ensure the film doesn’t shift during heat pressing. Anti-static sprays can help.
Adhesion Problems
- What’s Happening: The design peels after washing.
- Solution: Verify curing temperatures and ensure consistent powder application.
Pro Tips for Perfection
- Mind the Details: Use thinner ink layers for small, intricate designs to prevent smudging.
- Test, Test, Test: Every fabric reacts differently. Always run test prints to fine-tune settings.
- Stay Cool Under Pressure: Experiment with hot and cold peel methods to discover what works best for specific projects.
Why Multi-Layered DTF Designs Are Worth It
Yes, multi-layering takes effort. But the results? Absolutely worth it.
- Vivid Colors: Layering techniques amplify the vibrancy of your designs.
- Custom Textures: Add unique finishes that elevate your prints.
- Long-Lasting Results: While durability depends on the materials and techniques used, proper multi-layering ensures better adhesion and resistance to wear.
Conclusion
Creating multi-layered designs with direct to film transfers is as much an art as it is a science. With the right tools, techniques, and troubleshooting skills, you can craft stunning prints that impress clients and set your business apart. Experiment boldly, learn from your mistakes, and watch your designs transform into show-stopping masterpieces.
Your journey to DTF perfection starts here. Ready to make your designs unforgettable?
 Posted in